Week 4: Development and Refinement
Updated: Nov 17, 2022
Digital concertina sketchbook

To make adjustments to my concertina sketchbook I used Photoshop application. I have tried incorporating photographs I took into my concertina sketchbook and compare it with the physical version.

Since I am a beginner at using Photoshop I was able to learn keys used for shortcut. Some of them were-
Ctrl+ =Zoom in
Ctrl- =Zoom out
Ctrl0 =Full
Ctrl shift Z =Redo
Ctrl Z =Undo
Ctrl Alt C =Change Canvas size
Ctrl Alt I =Change Image size

I was able to use the polygonal lasso tool more comfortably than the magnetic lasso tool. I was not able to select the object I want as easily as I could.
There were places where I used different brush tools as in the background, to highlight the picture placed. I used the gradient tool to correct certain positive spaces.

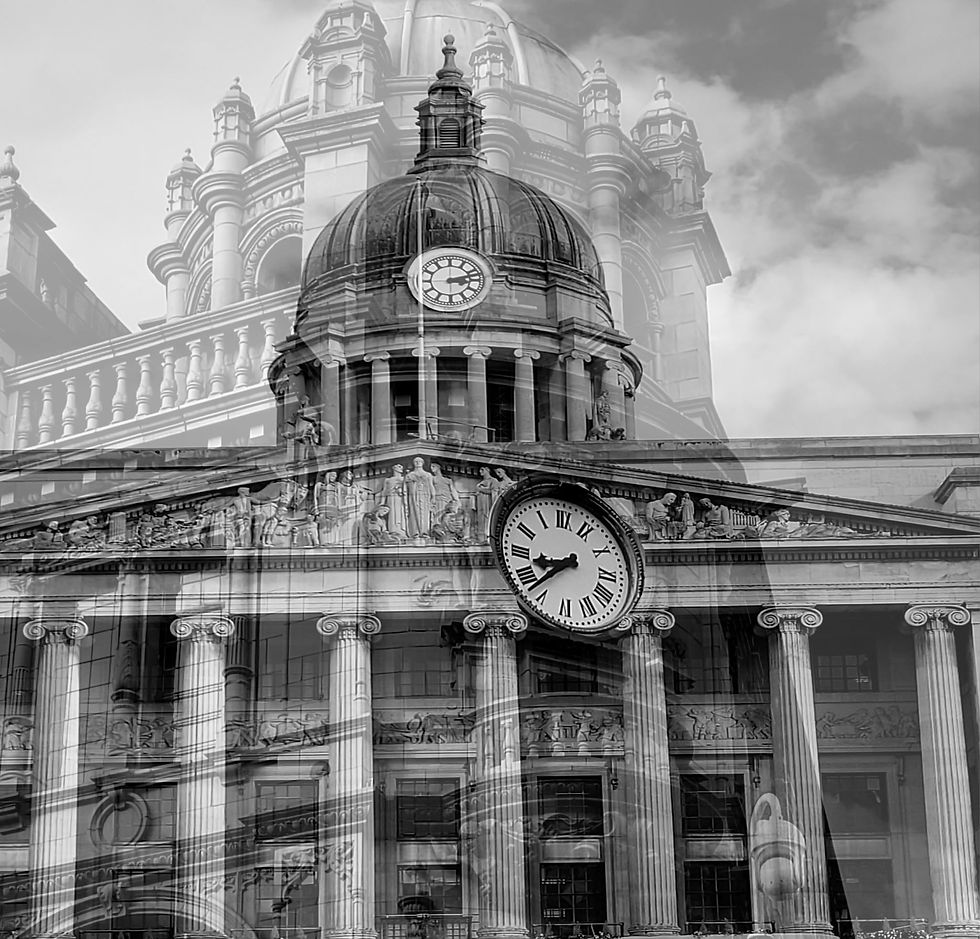
This is another picture I edited to bring out the theme of surrealism.
After I learnt the technique from Photoshop of how to make the glowing orb I embedded the picture into the concertina sketchbook along with the picture that has the concept of time highlighted in it.
Comparing Physical and Digital Concertina Sketchbooks


Next Steps
There are a lot of new short cuts I was able to learn as I continued editing. In my next step of focusing on detailed drawing and surrealism will be able to correct certain mistakes in my physical sketchbook digitally.
I want to try and input certain mark making techniques digitally. I can then experiment physically on it.

This Image can be selected as the postcard since it shows the keywords I look which are old and surreal. The buildings
I have chosen only one part for the postcard since I have not edited and finalized my collection. This postcard might be the digital version and the other two postcards will be physical.


Comments